
March 26, 2015
|
|
So you are about to publish your book and you need to inform your friends, family, and fan base. Email, though fast and easy, can be somewhat limiting, especially in terms presenting information in interesting, eye-catching ways, or sending to large quantities of people. Mailchimp is a tool that can remedy basic email’s shortcomings. It is an email design and distribution website that can help you create, send, and track newsletters and press releases. In this post I’ll break down how Mailchimp works, highlight some of its features, and tell you how best to utilize their free service.
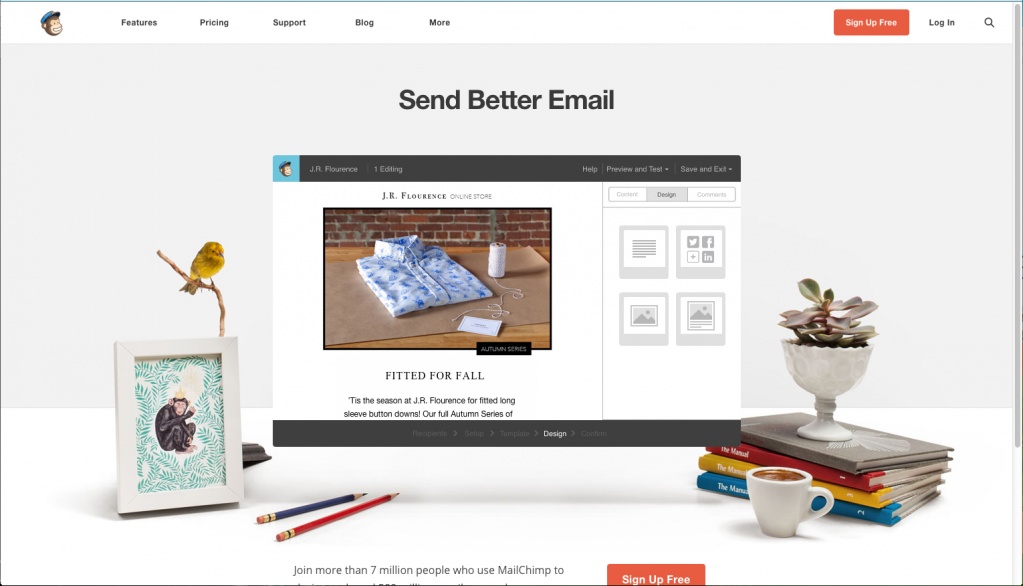
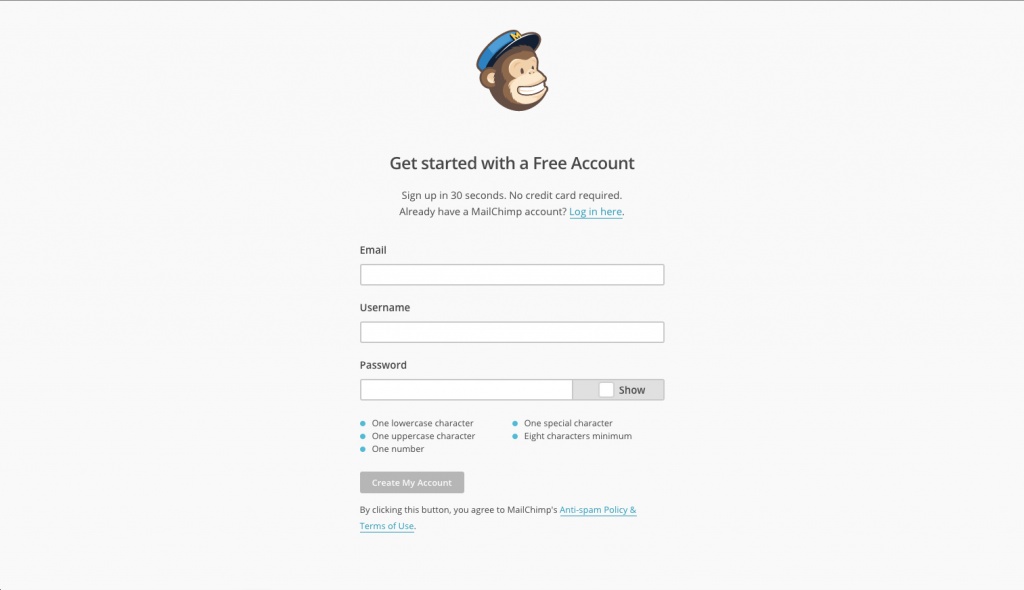
Signing up for Mailchimp is as quick and easy—all it takes is an email address. Once your account is set up, you’ll be ready to take advantage of Mailchimp’s features.
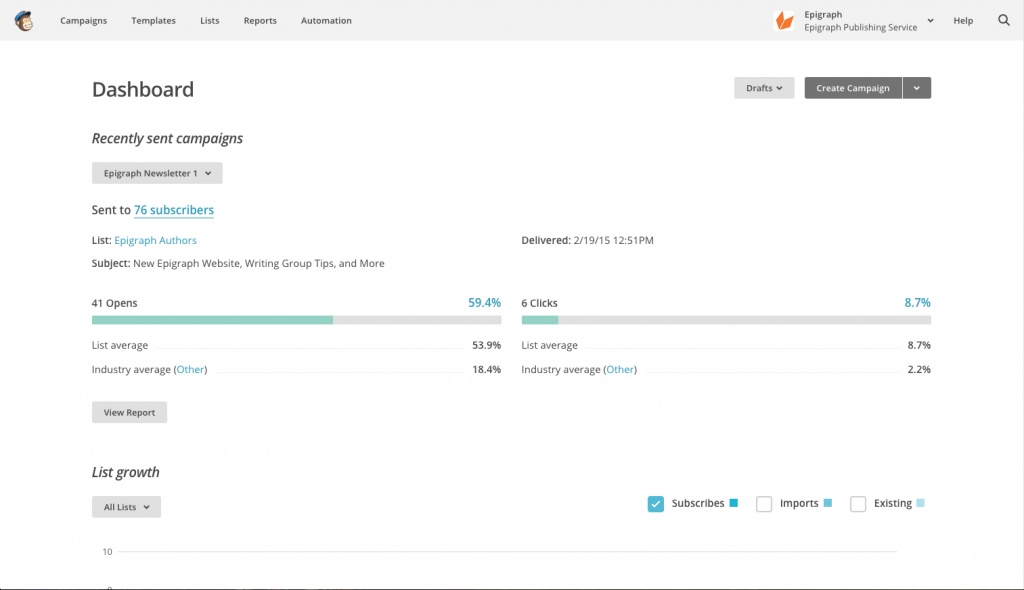
There are two main components for sending information via Mailchimp: lists and campaigns. Both of these are accessible from your dashboard.
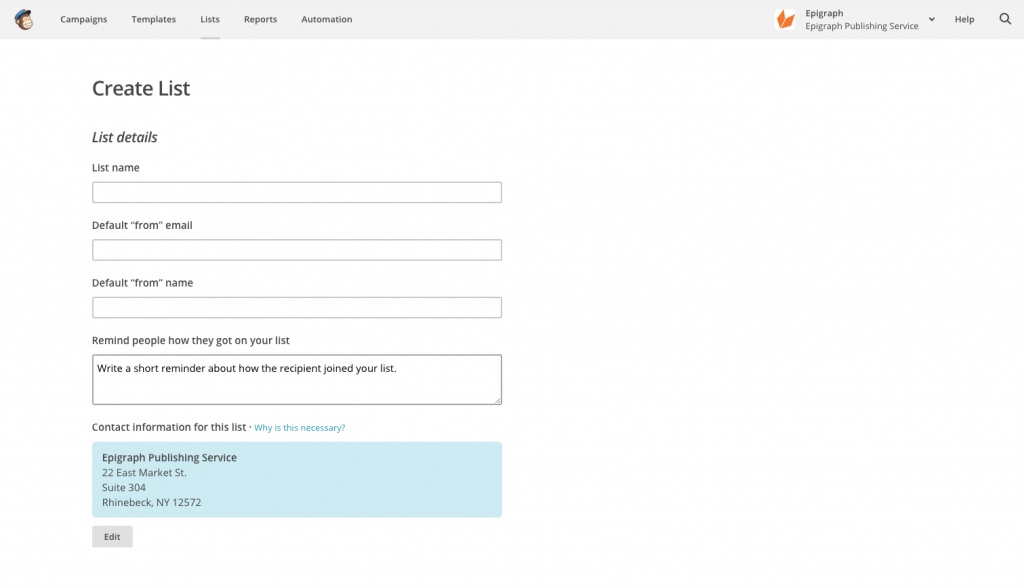
Lists contain the contact information for the people you’d like to send your email to. When you go to “Create List,” you will be prompted to name your list, define your “from” email, and “from” name. Maintaining accurate information is important, especially if you want to use lists for multiple purposes, such as sending newsletters. You will also need to enter a short message explaining how the recipient ended up on your list.
The next step is to import your “subscribers,” the people who are going to receive your email. There are multiple ways to do this. If you are sending to family and friends, chances are your contacts are stored on your email or computer. Mailchimp makes it easy to import contacts from a lot of different sources, but I’ve found that the best way is to copy/paste from an Excel spreadsheet. If you’re unfamiliar with Excel, you can manually enter the names and emails of your contacts. Mailchimp uses a tagging system that will help you personalize emails, so creating columns for salutation (Mr., Ms., Dr., etc.), first name, last name, and job title in your Excel sheet before you import can be helpful. Once your list has been uploaded and the information confirmed you’re ready to move on to the next phase.
Mailchimp calls emails “campaigns.” To create a new campaign, follow the prompt on the page header. There are four different types of campaigns, but you will likely want to select “Regular ol’ Campaign,” as this will allow you to customize your presentation and send a uniform email to your list, which you’ll choose next. Then you'll name your campaign and give it a subject line. On the left, you'll notice you can plug in different categories that will appear in the "to" column. This is where the categories from your list come in—so if you'd like to have it formatted as: Paul Cohen, Publisher, Epigraph Publishing Service, you can select those categories. Once you are happy with the appearance, click next on the bottom right.
"Template" isn't that important since you can edit the layout easily once you start designing, but if you want something simple there are plenty of options to choose from. Once you’ve selected a template you'll be taken to the design page. When you click on a section on the left, the editor opens on the right, where you can enter your text. Adding new text boxes, pictures, etc. is as simple as dragging and dropping the elements onto page where you'd like them to be placed. You can delete sections you don't need from the left-hand side too. It's a good idea to send a test email to yourself before you're ready to send to everyone, there's a "preview and test" option on the top. If you plan on sending weekly or monthly updates with the same format, you can save as a Template and plug in the information into a new campaign.
• Once you’ve sent your campaign, Mailchimp will track the rate of opening, and let you know if anyone has unsubscribed from your list. If your opens are low, maybe try spicing up the subject line, or working on personalization using tags.
• One of the elements you can easily add is buttons that lead to your social media, which can help you expand your reach.
• Mailchimp provides a link for people to subscribe to any given list, which you can share on social media or your website for fans to receive updates.
• If you’re not sure whom to include in your lists, customized media lists are available for purchase online. These lists are also available through Epigraph (see our Marketing page).